Desktop Shortcut for direct link to OS update SCCM.
So a quick blog on deploying the SCCM Software Center on to desktop and pointing that to operating system section. This procedure can also be used to just display the SCCM Software center as well by using softwarecenter: instead of softwarecenter:Page=OSD
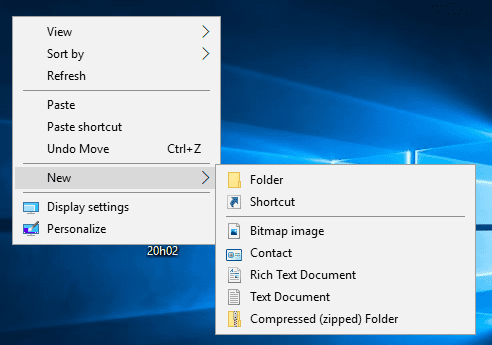
1). Right click on a Desktop with SCCM Client installed and select New and then select Shortcut
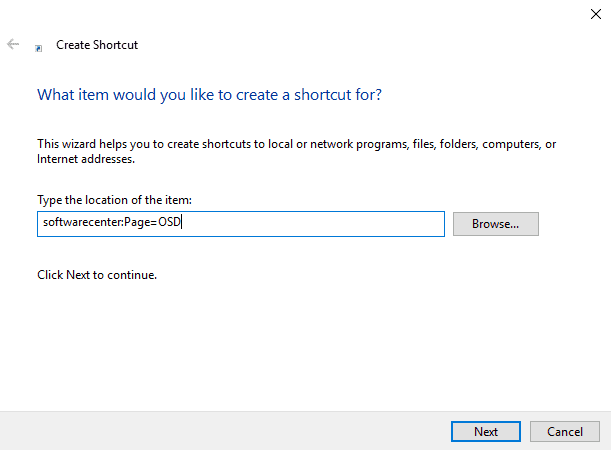
2). In the Type the location of the item: put the following information - softwarecenter:Page=OSD and click Next
3). In the Type a name for this shortcut put the following infromation - OS Upgrade and click Finish
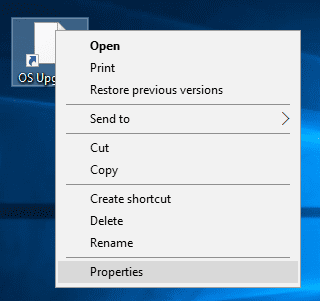
4). Right click on the new shortcut and click Properties
5). Click the Change Icon and select the SCCM Icon and click OK .
6). Transfer your Url to your package location on your own SCCM.
7). We now a need a quick bit of powershell to make the file copy from SCCM to your tragets devices.
Create a powershell script with the following information.
8). Transfer your Powershell Script to your package location on your own SCCM.
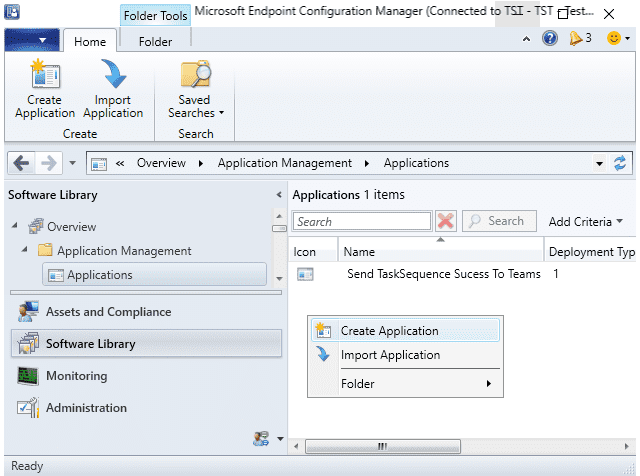
9). navigate to Software Library then Applications. Right Click Applications and choose Create Application
10). In the Create Application Wizard, Select Manually Specify the Application Information and click Next
11). Choose a Name for the new Application and click Next
12). The next screen is specify the Software Center entry click Next
13). We now need to add a Deployment Type click Add
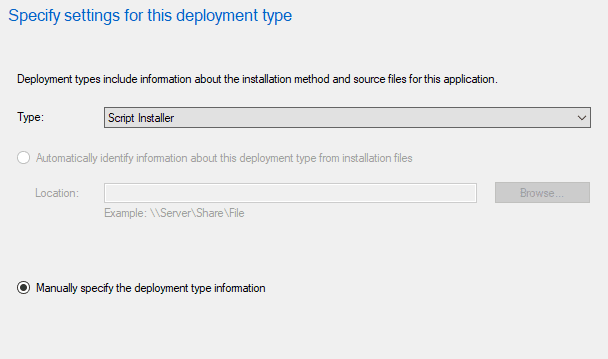
14). Choose Script Installer from the Deployment Type drop down box and click Next
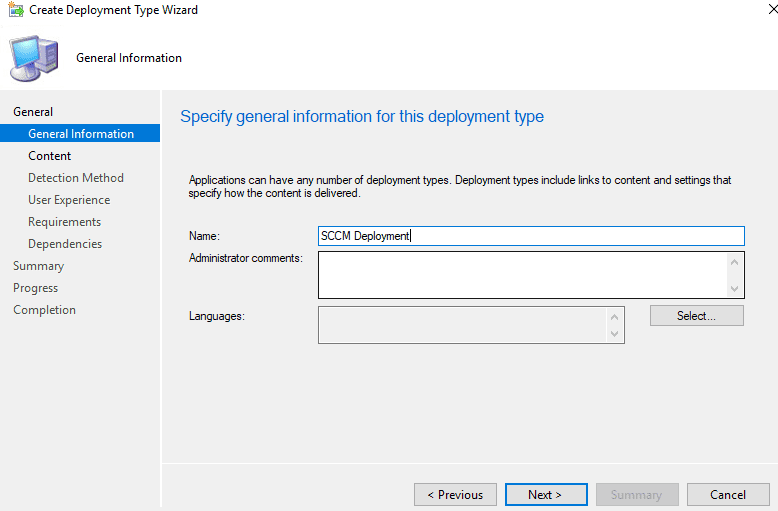
15).Give the Deployment Type a Name and click Next
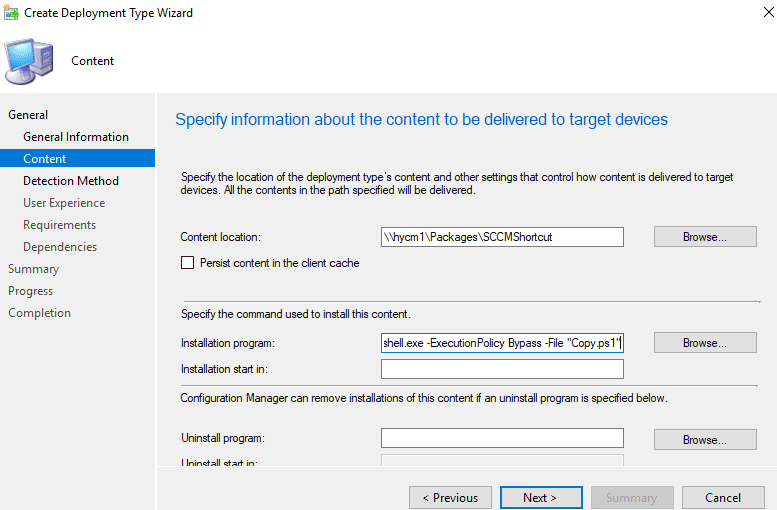
16).Specify the Application Content Location and Installation Program and click Next
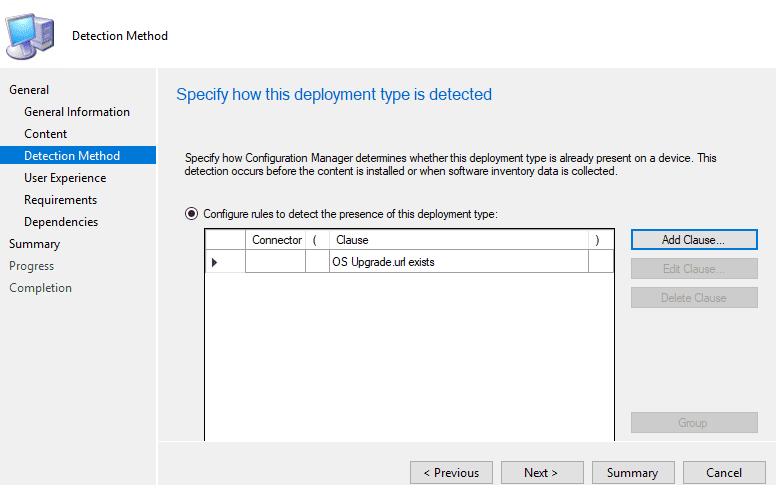
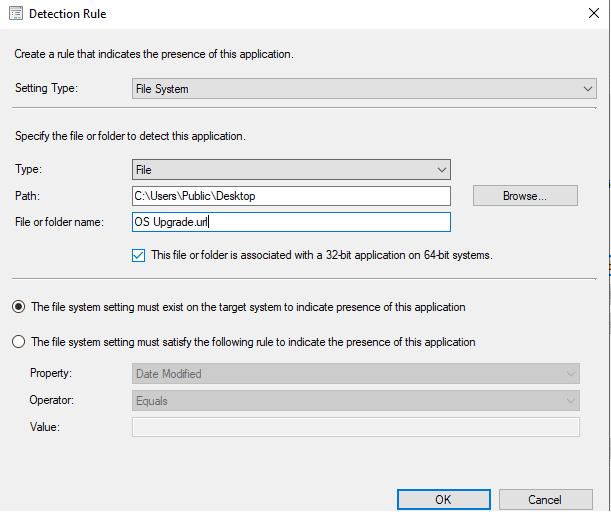
17).We now need to set a detection for our package click Add Clause
18). Now we set the Detection Rule set the following fields and click Ok
19). This will take us back to Detection Rules click Next
20). The next screen is User Experience settings set the following values and click Next
21). The next screen is the requirements click Next
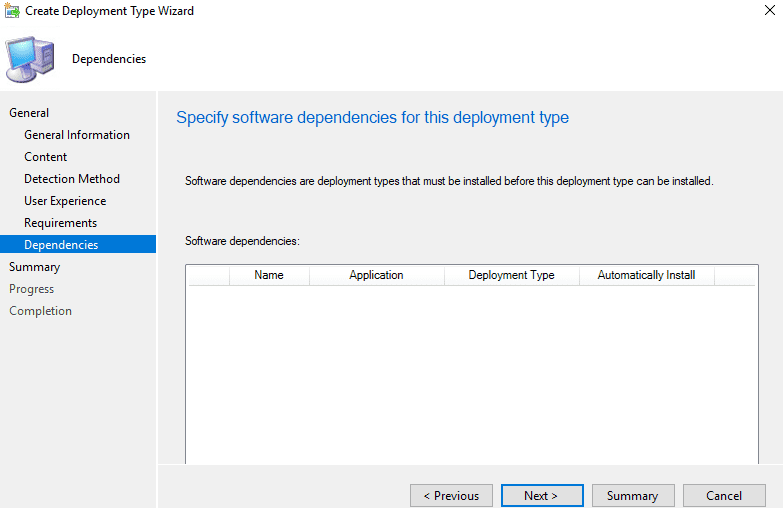
22). The next screen is the Dependencies click Next
23). The next screen is the Summary click Next
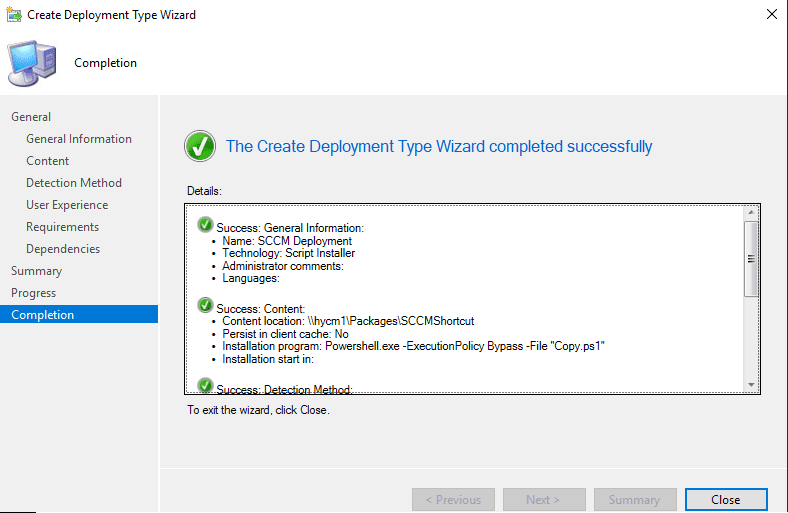
24). After processing you will the Completion window click Close
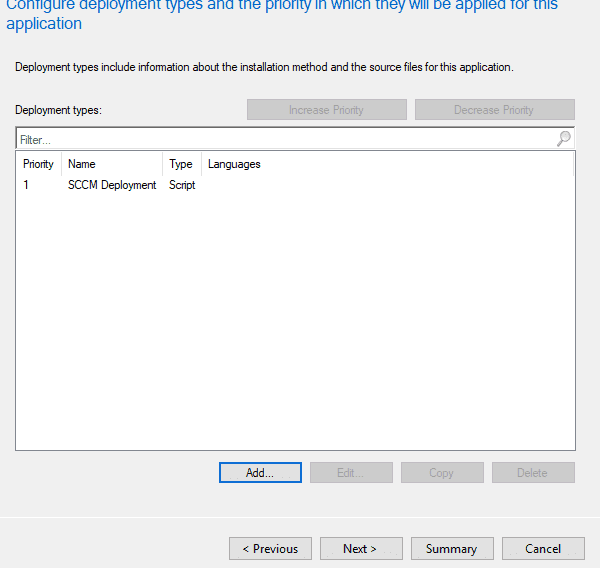
25). This will take you back to the Deployment Screen click Next
26). The Application will now be processed click Next
27). The final screen is the Completion screen click Close
26).You should see the application in SCCM and can be be deployed to a collection or task sequence.
